The Ultimate Guide to Clearing Brush: Tips, Tricks, and Tools

Clearing brush can be a daunting task, especially if you're not sure where to begin or what tools to use. Whether you're planning to create a walking path through a wooded area, clear an overgrown lot, or prepare a site for construction, there are several steps you can take to make the process easier, safer, and more efficient. In this guide, we'll provide you with tips, tricks, and tools that will help you clear brush like a pro.
Step 1: Assess the Area
Before you start clearing brush, take a look around the area to identify potential hazards and obstacles. Check for rocks, stumps, and uneven terrain that might cause you to trip or fall. Look for poison ivy, poison oak, and other unwanted plants that could cause an allergic reaction. Take note of any wildlife or insect infestations that may pose a danger, such as snakes, ticks, or bees.
Step 2: Gather the Right Tools
Having the right tools is essential for clearing brush safely and efficiently. Some tools you may need include:
- Gloves: Protect your hands from cuts, scratches, and poison ivy with a pair of sturdy gloves.
- Eye Protection: Wear safety glasses or goggles to keep your eyes safe from flying debris or dangerous chemicals.
- Ear Protection: Use earplugs or earmuffs to protect your hearing from excessive noise.
- Chainsaw: If you're dealing with thick, woody brush or trees, a chainsaw can help you cut through them quickly and easily.
- Loppers: Use loppers to cut through smaller branches and trim back shrubs.
- Pruning Saw: A pruning saw is ideal for cutting branches that are too thick for loppers but too thin for a chainsaw.
- Brush Cutter: A brush cutter is a powerful tool that can mow through weeds, grass, and small shrubs with ease.
- Trimmer: Use a trimmer to tidy up rough edges and cut back grass along the perimeter of your clearing area.
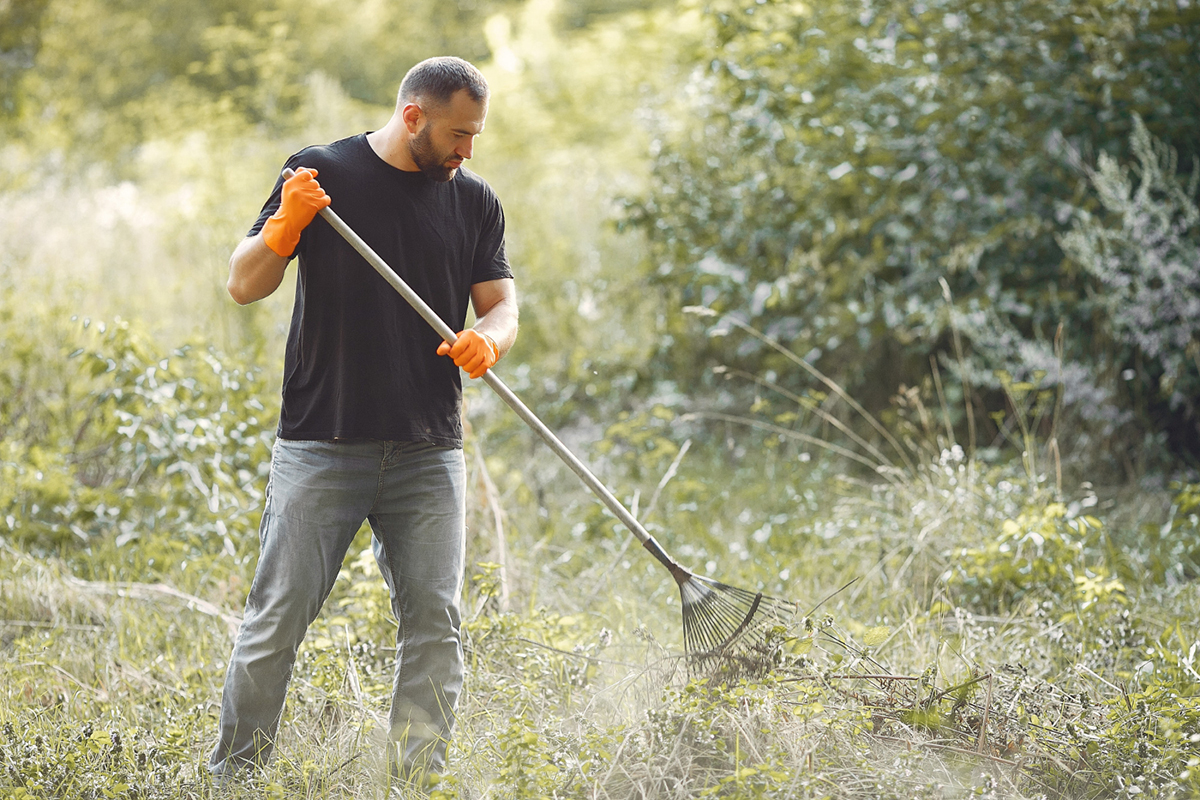
- Rake: A rake can help you clear away debris and create a smooth, level surface.
Step 3: Clear the Brush
Once you have your tools ready, it's time to start clearing brush. Here are some general guidelines to follow:
- Start with the outer edges of the area and work your way inward.
- Remove small plants and brush first, then move on to larger trees and shrubs.
- Cut the brush as close to the ground as possible to prevent regrowth.
- Use a rake to gather up the cut brush and debris into piles.
- Dispose of the brush and debris properly, either by hauling it away or burning it (if legal in your area).
Step 4: Be Safe
Clearing brush can be a dangerous job, so it's important to take safety precautions throughout the process. Here are some tips to keep in mind:
- Always wear protective gear, including gloves, eye protection, and ear protection.
- Be aware of your surroundings and watch for hazards like rocks, stumps, and uneven ground.
- Follow the manufacturer's instructions for using your tools properly.
- Take breaks and hydrate frequently, especially on hot, sunny days.
- Keep a first aid kit handy in case of injuries.
Conclusion
Clearing brush can be a challenging task, but with the right tools, techniques, and safety measures in place, it's entirely possible to do it successfully. By assessing the area, gathering the right tools, clearing the brush, and staying safe throughout the process, you can transform an overgrown, unruly area into a clean, safe, and beautiful space. Remember to take your time, go at your own pace, and don't hesitate to ask for help if you need it. When clearing brush, consider services like dumpster rental in Kissimmee to help facilitate your project waste management. Contact Wasteville today for a free estimate!